Only On The Walters Post
Foods I Try & Eat now Every Week.
- Fatty Fish – Packed with protein and heart-healthy omega-3s. Helps keep the blood flowing smooth and the brain sharp.
- Cabbage – A humble veggie that’s full of fiber and vitamins. Great raw, cooked, or fermented for gut health.
- Bell Peppers – Bright, crisp, and loaded with vitamins. A perfect snack or a way to add color and crunch to meals.
- Cranberries – Tiny but mighty, these berries help fight infections and support digestion. Best enjoyed fresh or dried (without too much sugar).
- Blueberries – Sweet, full of antioxidants, and great for the brain and heart. Eat them fresh or toss them into breakfast dishes.
- Dark, Leafy Greens – Spinach, kale, and arugula pack in vitamins and minerals that boost energy and overall health.
- Olive Oil – A natural fat that’s good for the heart and helps with inflammation. A little drizzle goes a long way.
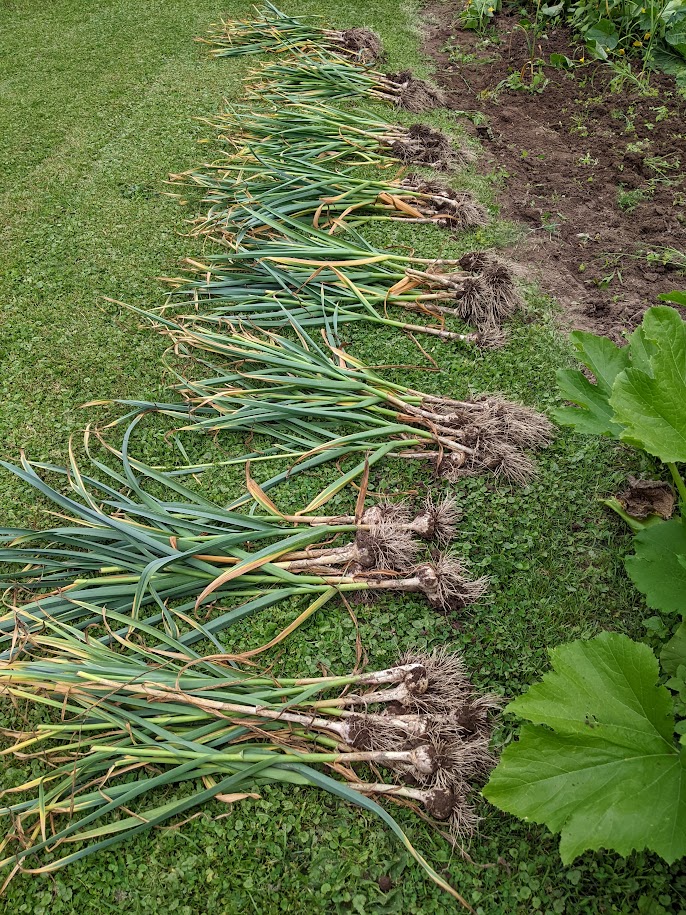
- Garlic – Nature’s medicine—good for the immune system, the heart, and adding flavor to just about anything.
- Onions – A staple that’s rich in antioxidants and nutrients. Adds depth to dishes and supports overall wellness.
- Cauliflower – Crunchy, full of vitamins, and a great substitute for heavier carbs. Roast it, mash it, or eat it raw.
- Egg Whites – A clean source of protein without extra fat. Good for muscle strength and energy levels.
- Arugula – A peppery green that’s full of vitamins and cancer-fighting compounds. Great in salads or as a garnish.
- Apples – An easy, fiber-rich snack that supports digestion and helps balance blood sugar. A true classic.
Farmer’s Wisdom:
If it grows in the ground or swims in clean water, it’s probably good for you. Eat fresh, eat real, and your body will thank you.
All my books are available on my Amazon Author Page.
If you purchase a book, a brief Amazon review really helps new readers discover my work—it means a lot.
Support my writing: Support My Writing
In Closing, I Would Like to Wish You Well!
George Walters | [email protected]