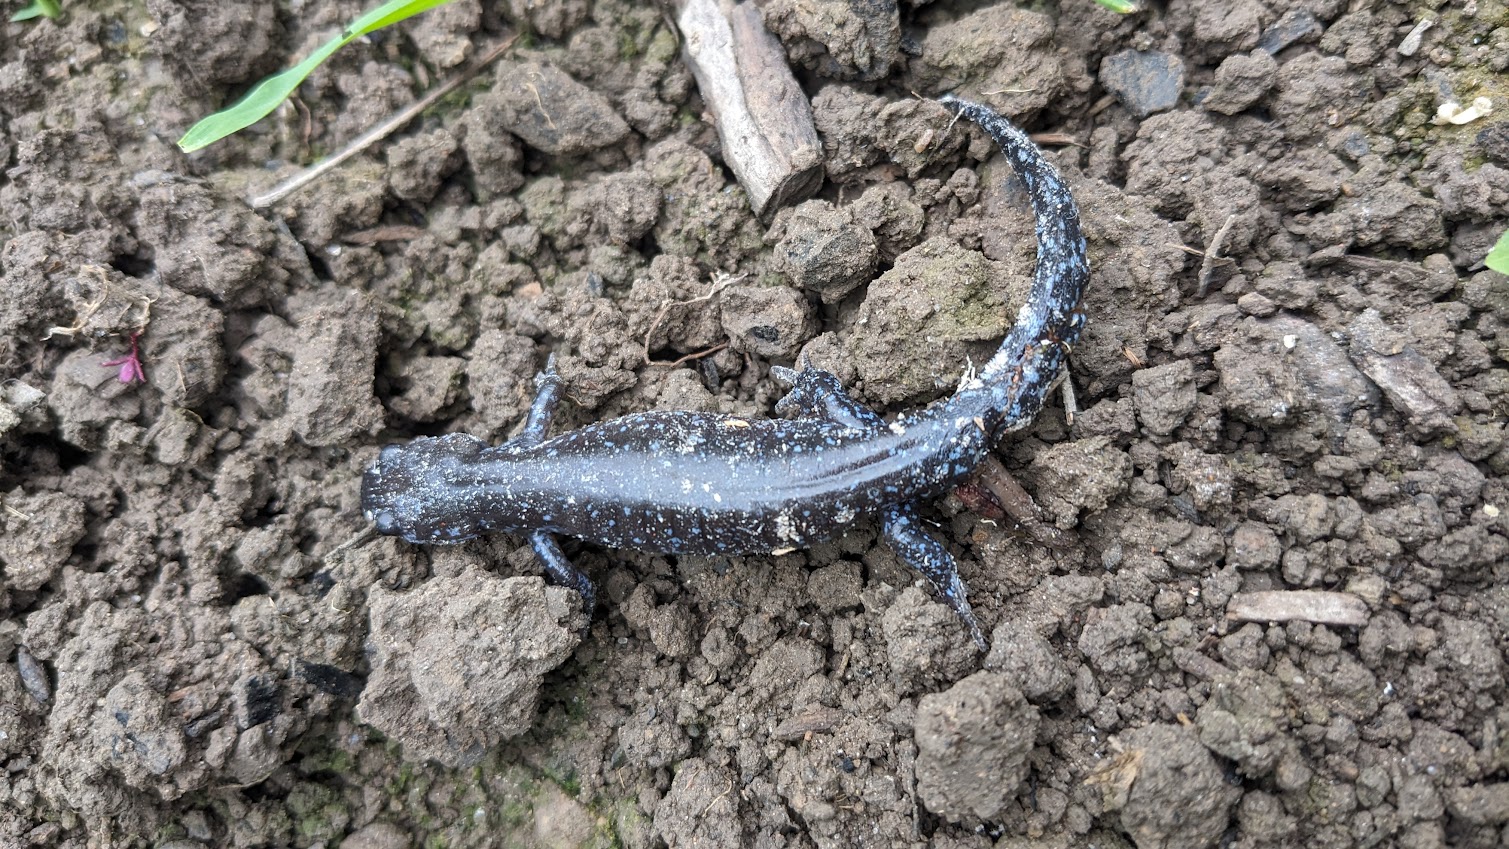
Turned over some earth between the tomato and potato plants today and came across something you don’t see every day around here — a Blue-spotted Salamander. He was sitting there in the dark soil looking like he’d been dipped in black lacquer and splattered with bright blue paint… just waiting for the commotion to pass.
Most times these little fellas stay completely out of sight… tucked deep under old logs or buried in the damp earth where the sun can’t dry them out. You could live here a long time and never cross paths with one. But they’re some of the best hired help a garden can get. They spend their nights patrolling the rows — quiet and deliberate — clearing out slugs, ants, and the kind of bugs that like to make a meal of a person’s hard work.
I set him right back down near the roots and let him get on with his shift. There’s plenty of clearing to do… and he doesn’t charge a thing for the labor. GW
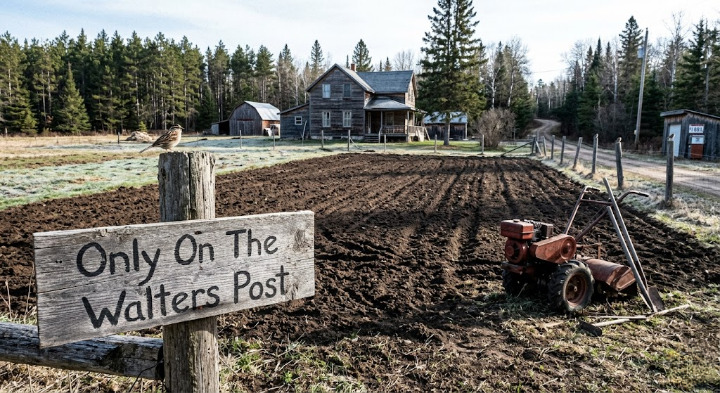
Well, she’s a cool one waking up here in Northern Ontario. To top that off, we even had some frost, which tells me one thing: it’s not time to plant my vegetable garden just yet.
That said, I did get my old rotavator out the other day and worked the dirt up for the first time. I like to do that a couple of weeks ahead of planting; it gives the soil a chance to breathe after being compacted down over the winter.
I have to say, freshly turned soil sure looks nice. It smells nice, too—something akin to the first time you cut your grass in the spring. You can smell it for miles around. Well, at least I can! For the folks who use all those air fresheners in their homes, their sense of smell has just about had it. It’s a shame, too, as smell makes up a good portion of one’s life. It’s really no different than hearing or seeing.
On another note, the black flies aren’t out annoying anyone just yet, but the stripe-headed birds are back. That’s a sure sign that it won’t be long before those blood-sucking parasites show themselves.
Highway 522 is still quiet, which is normal for this time of year. We could see a bit of an uptick being that this is the long weekend. I say could, but nothing is definite. With what these oil companies are doing to us right now with the price of gas, well, I am sure that will keep plenty of folks at home, too. Can’t say I blame them, either.
The thing is, there is no earthly reason why they are raising these prices. Well, there is one, I guess, which is that they are making money hand over fist. But you know how it goes. All these folks that cause trouble or cheat people will get their just reward somewhere down the road a ways. It’s just a shame that we the working folks have to suffer from their idiocy in the meantime.
Anyway, that is about all I have to say here this morning.
Until the next time: Keep Your Minds Open & Your Stories Alive. GW
Good morning, you know, one thing I found over the years is… the country doesn’t care if you’re tired, it keeps on handing you chores.
After yesterday afternoon’s rain, we’re all waking up to sunshine this morning here in cottage country. It has cooled down quite a bit though, something some people might not enjoy, but for me, it’s perfect. There are no bugs, no humidity, and it’s not too hot, which means you can get some work done or just sit on the front porch and relax, surrounded by nature. In my opinion, it doesn’t get much better than that.
Weather forecast for Port Loring, Ontario, Canada:
Today (Monday, August 25, 2025):
Morning: Sunny, with temperatures around 53°F (12°C).
Afternoon: Mostly cloudy with a couple of showers. High of 62°F (17°C).
Evening: Cloudy conditions continuing into the night.
Tonight:
Overnight: Cloudy with a low of 50°F (10°C).
Tomorrow (Tuesday, August 26, 2025):
Morning: Times of sun and clouds.
Afternoon: Partly cloudy, with a high of 65°F (18°C).
Evening: Partly cloudy conditions continuing into the night.
Overnight: Low of 46°F (8°C).
If you’re heading out to do some fishing around Port Loring today, the best time to try your luck looks to be in the afternoon, 2:10 PM to 4:10 PM. That’s the big window, the time when a fish might be waiting on your line.
There are also a couple of shorter spells worth noting. One shows up in the morning, 8:32 AM to 9:32 AM, and the other in the evening, 8:32 PM to 9:32 PM. Smaller chances, sure, but I’ve seen plenty of good fish caught when no one expected it.
Today’s a “Better++” sort of day, which to me just means, good enough to keep you on the water longer than you planned, especially with the moon setting close to sunset.
Highway 522 has gotten a bit busier, with a few campers and other travelers rolling into our area over the weekend. I imagine people feel that if they’re going to enjoy the north, they’d better do it sooner rather than later… especially those with kids, since school starts back up next week. I have to say, the summer sure slipped by quickly this year.
On another note, I’ve been keeping busy helping my wife with the tomatoes over the past week or so. We have a bumper crop this year, and they’re delicious. We ended up with so many that we decided to put some out on our trailer to sell to folks passing by.
This year’s harvest includes some beautiful beefsteak tomatoes and some yellow, low-acid varieties that are just about perfect. We also have zucchini and a few extra cobs of corn. Everything is set out on the trailer by the road… self-serve style: just take a bag and leave the payment in the container. Then, all that’s left is to enjoy!
So with that, I’m off to enjoy the breakfast my lovely wife has made for me. Afterward, I’ll head outside to pick some more tomatoes and soak up this beautiful day. Days like this don’t come around often in our part of the country, so I plan to make the most of it.
Until the next time: Keep Your Minds Open & Your Stories Alive. GW
Good Morning! Another Day, Another Quiet Start Here in the Pines
So far this morning things are looking not all that bad outside, but in saying that here is the weather forecast for today tonight and tomorrow.
Today (June 21): High of 77 °F (25 °C), low around 67 °F (19 °C). Expect cloudy skies with showers and thunderstorms, especially in the morning when it’ll feel warm and humid, shifting to breezy later with possible heavy downpours and strong winds.
Tonight: Temperatures should hold steady near 67 °F (19 °C) as the storms wind down.
Tomorrow (June 22): It’s forecast to warm up further, reaching 88 °F (31 °C); lows around 68 °F (20 °C). Expect morning clouds to give way to sunshine, though afternoon thunderstorms are possible in certain areas.
So might pay to have a raincoat handy for today.
Highway 522 did pick up a wee bit yesterday traffic-wise, but here again, it’s mostly the locals that are moving around. You know how it goes in small towns… half the traffic is folks waving at the other half. And if someone’s brake lights come on, it’s probably just them stopping to chat out the window.
Bug Report: Not too much to report in that department, other than a few mosquitoes irritating folks. The wet, damp weather’s brought them out, and if it turns warm and muggy, well, they’ll be out in full force.
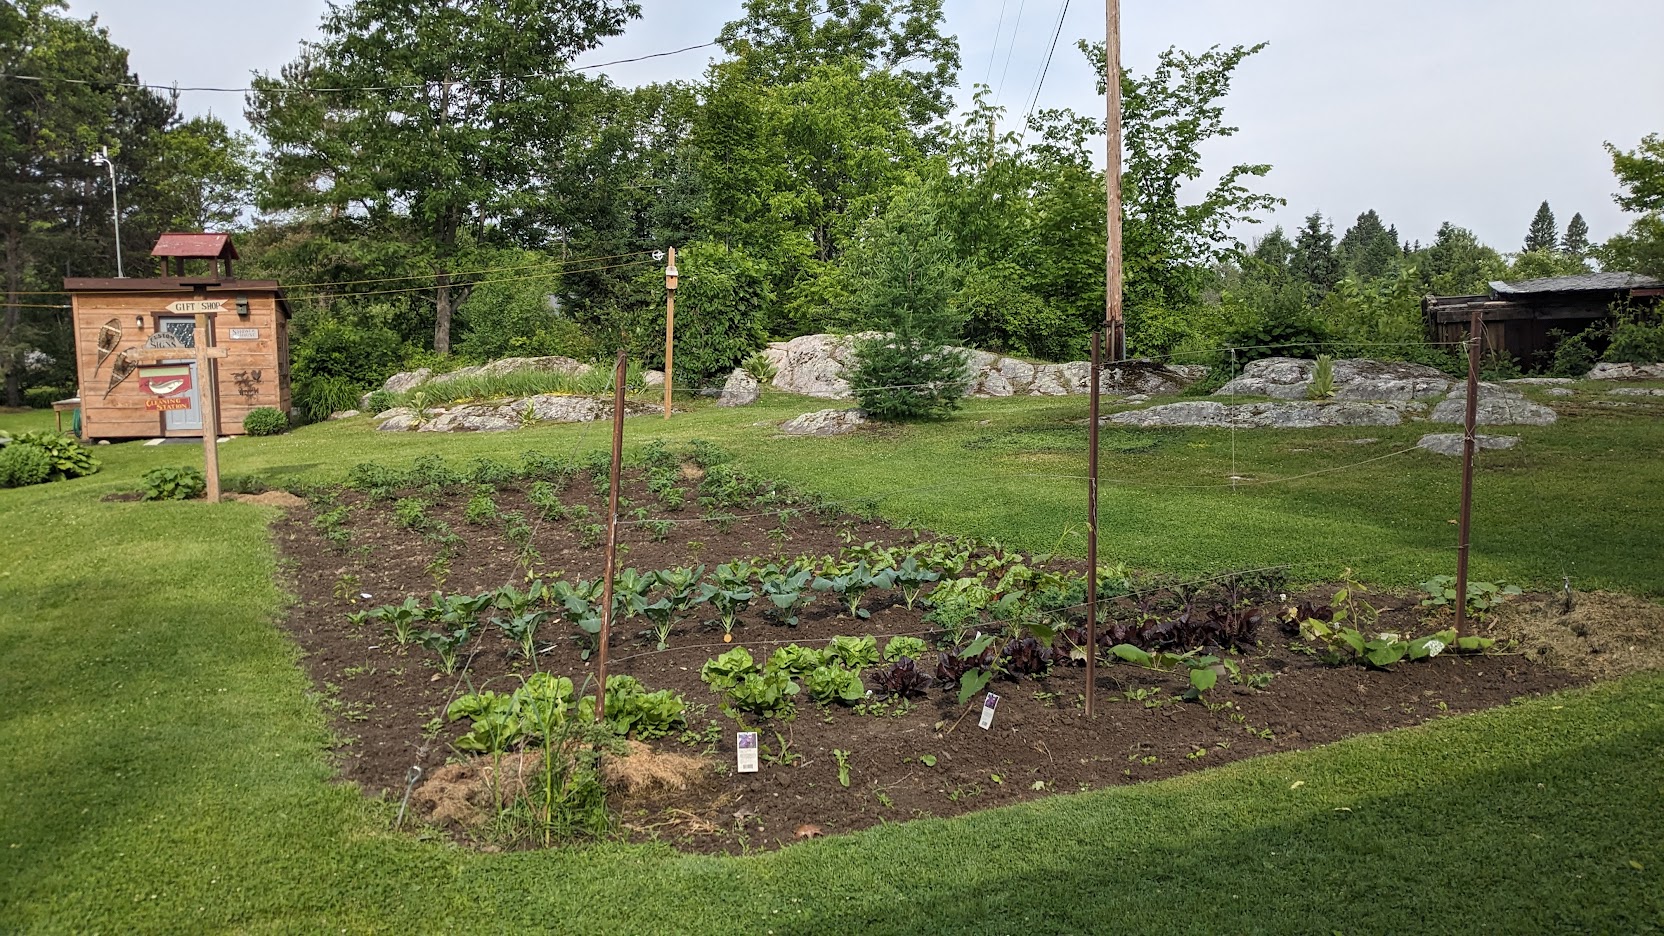
On another note, yesterday morning I spent some time out in the gardens. Had a bit of thinning to do, as things are really coming on strong now. It’s that time of year when everything seems to grow while your back’s turned.
While out there, I noticed our peonies are in full bloom, and let me tell you, they smell just like those old-time heritage roses. That old saying bet you can’t take one sniff is sure true. My wife and I sure enjoy them. The yellow lilies out by our sign are also putting on a good show this year too, and a few more by the fishpond are just starting to strut their stuff. The white lilac is about done for the season, but while it lasted, you could smell it all over the property, sweet and strong, just the way we like it.
The good news, is the grass has started to slow down a bit now, which makes things a little easier for the two of us. Easier on us and the mowers, too.
I have to say, our place is something special. The way we’ve fixed it up over the years, there’s always something new to catch your eye, a bloom here, a bird house there, or just the way the light hits things in the morning. My wife and I love this property more than words can say. It’s peaceful, it’s full of life, and most of all, it’s home. For now anyway.
So what are you up to today, GW?
Well, today, with my shop being a touch messy again, I’m planning on straightening things up in there. And if the rain holds off, I’ve got some weeds to deal with in our vegetable garden. I like to stay on top of them as they are easy to manage now, but if you let ’em get ahead of you, you’re in for a whole lot more work.
But first, I’ll need to sharpen up my old hoe a bit. It’s gotten a bit dull with all the use it’s had so far this year. A sharp hoe makes the job a whole lot easier, let me tell ya.
On top of that, we’ve still got folks dropping by for our garage sale and a few wandering into our little gift shop too, so that will also keep us hopping.
And I’ll tell you… my little woman’s got her hands full today as well. She’s been cleaning the house, making meals, working on some sign orders she’s got to get done, and keeping everything running smooth around here. Truth be told, it’s wash day too, and that alone is a full day’s work. That woman never stops, I don’t know how she does it sometimes.
So, all in all, between the two of us, I’d say the day’s spoken for.
So with that, I’m off for the breakfast my lovely wife has made for me. After that, I think a cup of hot cocoa on the front porch will be in order. Now that those pesky black flies have finally left us for another year, it’s a touch more comfortable out there.
“Until the next time: Keep Your Minds Open & Your Stories Alive.” GW
A lot of folks these days use apps to find out what the weather is going to be these days. Simply because it’s easier. But for me? That’s another story. I still watch the sky, listen to the frogs, watch the dragon flies and walk the property to see what the land’s telling me. And lately, it’s been speaking loud and clear… wet ground, full creeks, and frogs singing their hearts out. That’s a sure sign it’s been wetter than normal now that we are into June.
But something’s shifting. The air’s got that warm weight to it some mornings, and the sun’s got more sting than it did a couple of weeks back. I figure a hot stretch might finally be working its way north.
Come the end of June and Canada Day, I wouldn’t be surprised to see a string of days in the high 80s, maybe even flirting with 90°F. Nights’ll be sticky, and unless a storm rolls through, the air’ll feel thick from dawn to dusk. It won’t hit all at once, but the heat’s building slow and steady.
So after a good soaking season, which was needed, we’re likely heading into a dry, hot run. We might not get much in the way of soaking rain, just quick downpours or thunderstorms here and there. Best to keep the garden deep-watered, mulch where you can, and keep an eye on the plants.
So for us here in Port Loring:
The rain’s been generous, but the tables are turning.
Watch for more heat heading into July.
And like always, listen close to nature, she will let you know what’s next.
Until the next time: Keep Your Minds Open & Your Stories Alive. GW